Скачать с ютуб DIY Headstock Decals- How to Make Them! (Fast & Easy!) в хорошем качестве
DIY Headstock Decals- How to Make Them! (Fast & Easy!)
6 лет назад
Скачать бесплатно DIY Headstock Decals- How to Make Them! (Fast & Easy!) в качестве 4к (2к / 1080p)
У нас вы можете посмотреть бесплатно DIY Headstock Decals- How to Make Them! (Fast & Easy!) или скачать в максимальном доступном качестве, которое было загружено на ютуб. Для скачивания выберите вариант из формы ниже:
Загрузить музыку / рингтон DIY Headstock Decals- How to Make Them! (Fast & Easy!) в формате MP3:
Если кнопки скачивания не
загрузились
НАЖМИТЕ ЗДЕСЬ или обновите страницу
Если возникают проблемы со скачиванием, пожалуйста напишите в поддержку по адресу внизу
страницы.
Спасибо за использование сервиса savevideohd.ru
DIY Headstock Decals- How to Make Them! (Fast & Easy!)
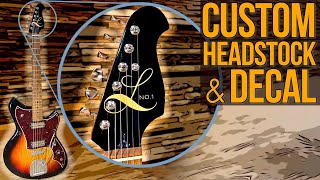
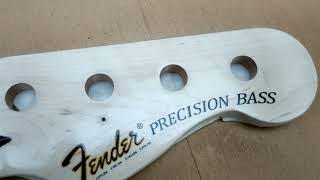
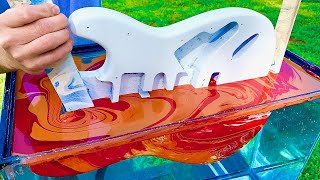
Waterslide Decal Paper https:https://amzn.to/2U1btDF True Oil finish https:https://amzn.to/2U1gxrH Also please check out my Merchandise Store: https://diy-gene.creator-spring.com/ I am a Amazon Affiliate, DIY Headstock Decal application is fast and easy by using waterslide decal paper for use with inkjet printers. If you are refinishing a guitar, you can visit google images and type in "Fender logo for head stock" and find factory replacement logos. I wanted to create my own design, so using Adobe Photoshop I altered the Fender logo to say Stratocaster. I also added my DIYGene logo as well. After you have prepared the neck by sanding, you can coat it with True Oil. I like this product because it coats easy and has low odor. I put about 4 coats on the neck allowing them to dry for about 24 hours between each coat. Then, printing the decals on a inkjet printer, I cut the decals out and then clear coated them with spray clear. After letting the clear coat dry, they can be placed in warm water. Allow the decals to sit until the backing starts to slide away from the decal. This takes about 3 minutes. Place the decal on the head stock and move it into position. With a clean cotton cloth dab the decal dry, lightly pushing out any bubbles. After you have let it dry, you can now clear coat over the decal for a smooth finish. I used a buffer to really give it a nice finish.
Comments