Скачать с ютуб 3D Lettering for Beginners in Procreate в хорошем качестве
3D Lettering for Beginners in Procreate
2 года назад
Скачать бесплатно 3D Lettering for Beginners in Procreate в качестве 4к (2к / 1080p)
У нас вы можете посмотреть бесплатно 3D Lettering for Beginners in Procreate или скачать в максимальном доступном качестве, которое было загружено на ютуб. Для скачивания выберите вариант из формы ниже:
Загрузить музыку / рингтон 3D Lettering for Beginners in Procreate в формате MP3:
Если кнопки скачивания не
загрузились
НАЖМИТЕ ЗДЕСЬ или обновите страницу
Если возникают проблемы со скачиванием, пожалуйста напишите в поддержку по адресу внизу
страницы.
Спасибо за использование сервиса savevideohd.ru
3D Lettering for Beginners in Procreate
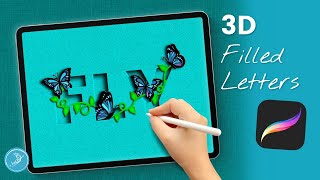
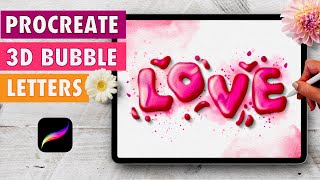
How To Draw 3D Letters in Procreate! 3D bubble style text for beginners using iPad. #Procreate #UltimateGuideToProcreate #DigitalArt ❤️ If you find my content helpful, become a channel member - https://www.youtube.com/channel/UCqMl... 🔔 Subscribe for more free Procreate art tips: https://www.youtube.com/channel/UCqMl... 📢 If you enjoyed this video help others enjoy it by adding captions in your native language - https://support.google.com/youtube/an... ✅ My Recommended Gear iPad Pro 12.9 inch - https://amzn.to/34MQHip Apple Pencil - https://amzn.to/33u6y4R iPad Pro Case - https://amzn.to/3GUJXvP Apple Pencil Grip - https://amzn.to/3uYBYf8 iPad Screen Protector - https://amzn.to/3Bs4Cq9 Disclaimer: These links are affiliate links where I'll earn a small commission if you make a purchase at no additional cost to you. ✅ For business inquiries contact me at [email protected] ✅ Let's connect: Instagram - / justgreta_ TikTok - / _justgreta Twitter - / justgreta_ Video captions: Here's how You can draw 3D letters in Procreate. Start by selecting the brush icon and choose the airbrush and studio pen brush. Brush size is about 30%. Before writing your text make sure your in a new layer. Let me know in the comments what word you chose and tag me on Instagram. I'd love to see your drawings! We're going to go ahead and duplicate our text and add a new layer as clipping mask. Fill the layer in a darker color and combine. Now go ahead and drop the layer to the bottom and click on the arrow to create a shadow. Go ahead and select the brush icon and select the Calligraphy Monoline brush. We are going to fill in any gaps in the text. While you can finish there, we are going to make it look like a balloon style text so go ahead and create a new layer and select clipping mask. With a darker color we are going to make a slight outline. This doesn't have to be perfect and you'll see why next. Click on the magic wand and pick Gaussian blur. I blurred it to 9%. Let's go ahead and create another clipping mask later and add a few more shadows. To do this I'm just deciding which line I want to go on top of the other line. And gaussian blur again... To clean it up, simply use the eraser tool. After we cleaned it up a bit go ahead and create another clipping mask layer. This is going to be our highlights. To do this we are going to select the studio pen brush and adjust the size accordingly. Now have fun and add a few lines here and there and make the font come to life. Now we are almost finished, we are going to select the shadow font and add a new clipping layer and add a few shadows with the soft airbrush tool. The last step is to add a shadow underneath. Go ahead and duplicate the text layer and make it black. Drag it to the bottom and click the arrow. Move it down a bit and select distort. After doing so just blur it up a bit and you can always reduce the opacity. And we're done! Hope you enjoyed this video and was able to follow along. Thanks for watching!
Comments