Скачать с ютуб How To: Samsung Washer Spider Arm DC97-16509C в хорошем качестве
How To: Samsung Washer Spider Arm DC97-16509C
3 года назад
Скачать бесплатно How To: Samsung Washer Spider Arm DC97-16509C в качестве 4к (2к / 1080p)
У нас вы можете посмотреть бесплатно How To: Samsung Washer Spider Arm DC97-16509C или скачать в максимальном доступном качестве, которое было загружено на ютуб. Для скачивания выберите вариант из формы ниже:
Загрузить музыку / рингтон How To: Samsung Washer Spider Arm DC97-16509C в формате MP3:
Если кнопки скачивания не
загрузились
НАЖМИТЕ ЗДЕСЬ или обновите страницу
Если возникают проблемы со скачиванием, пожалуйста напишите в поддержку по адресу внизу
страницы.
Спасибо за использование сервиса savevideohd.ru
How To: Samsung Washer Spider Arm DC97-16509C
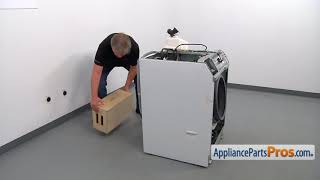
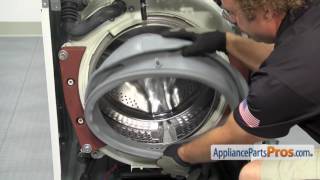
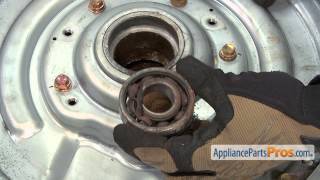
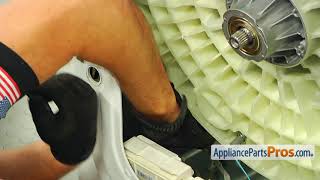
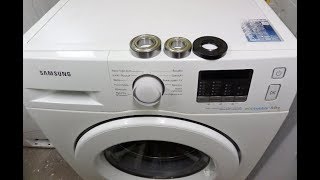
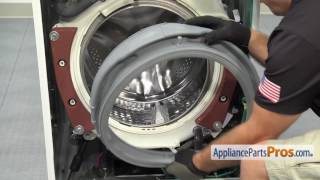
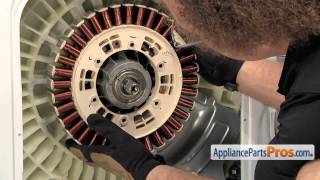
How To Replace: Samsung Spider Arm DC97-16509C https://www.appliancepartspros.com/sa... Symptoms: excessive vibration, noise, smoke, no spinning. Tools: plastic mallet; Phillips screwdriver; flathead screwdriver; small flathead screwdriver; pliers; side cutters; zip tie; penetrating oil; heat gun; socket wrench with extension and 19, 13, and 10mm heads, DC60-40137A Bolts. This Samsung made Washer Spider Arm replaces the following older part numbers on Samsung Washers: PS8764217. Buy the new Washer Spider Arm DC97-16509C here: https://www.appliancepartspros.com/sa... Most orders delivered in 2 business days or less. If you enjoyed this video, please click the like button. Subscribe to this channel for more appliance repair tutorials. If you need any more technical advice, call us at 1-877-477-7278 or chat with us on our website http://www.appliancepartspros.com/. We're available 7 days a week. For more appliance advice, information, and tips, follow us on social media. Facebook: / appliancepartspros DIY Repair Group: / fixmystuff Twitter: / applpartspros 00:00 - Introduction & Safety Precautions 00:40 - Tools Required 01:22 - Introduction to the Spider Arm and its Importance 02:04 - Preparing the Washer for Repair 03:08 - Removing the Outer Boot and Door Switch Assembly 04:09 - Removing the Dispenser Housing and Control Panel 05:14 - Removing the Drain Filter Door and Tub Housing 06:01 - Accessing the Front Panel Screws and Removing the Front Panel 07:05 - Disconnecting Hoses and Wires from the Tub Assembly 08:03 - Removing the Brace and Front Counterweights 09:06 - Removing the Stator and Rotor 10:54 - Removing the Rear Access Panel and Bottom Counterweight 12:00 - Disconnecting Shock Absorbers and Control Board Assembly 13:55 - Removing the Inner Tub from the Outer Shell 15:37 - Installing the New Spider Arm and Bolts 18:08 - Securing the Outer Shell and Reassembling the Tub 19:52 - Reconnecting Hoses and Wires to the Tub Assembly 21:48 - Reinstalling the Counterweights and Shock Absorbers 23:33 - Reassembling the Control Board Assembly and Wiring 25:20 - Reconnecting the Dispenser Housing and Vent Hose 26:19 - Installing the Front Brace and Harness 27:23 - Reattaching the Door Switch Assembly and Tub Samples 28:15 - Reassembling the Rear Tub Housing and Pump Assembly 29:48 - Tightening and Securing all Parts 31:51 - Installing the Suspension Springs 33:07 - Placing the Inner Tub and Securing the Rotor 34:53 - Securing the Front and Rear Outer Shells 37:01 - Final Reassembly and Connecting Hoses 38:51 - Completing the Installation of the Tub Assembly 40:46 - Securing the Counterweights and Front Brace 42:46 - Reconnecting the Wiring and Heater 44:51 - Attaching the Vent Hose and Final Adjustments 46:57 - Securing the Rotor and Testing 48:47 - Final Assembly and Installation of Door Switch Assembly 50:53 - Final Touches and Completing the Repair 52:44 - Reattaching the Front Panel and Pump Filter 53:49 - Connecting the Front Brace and Hose 54:47 - Completing the Final Assembly and Testing 55:47 - Finishing the Installation and Reconnecting Hoses 59:59 - Conclusion and Summary
Comments