Скачать с ютуб Smart Oil Gauge Installation в хорошем качестве
Smart Oil Gauge Installation
4 года назад
Скачать бесплатно Smart Oil Gauge Installation в качестве 4к (2к / 1080p)
У нас вы можете посмотреть бесплатно Smart Oil Gauge Installation или скачать в максимальном доступном качестве, которое было загружено на ютуб. Для скачивания выберите вариант из формы ниже:
Загрузить музыку / рингтон Smart Oil Gauge Installation в формате MP3:
Если кнопки скачивания не
загрузились
НАЖМИТЕ ЗДЕСЬ или обновите страницу
Если возникают проблемы со скачиванием, пожалуйста напишите в поддержку по адресу внизу
страницы.
Спасибо за использование сервиса savevideohd.ru
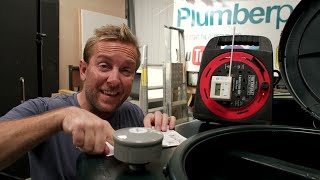
Smart Oil Gauge Installation
Learn how to install a Smart Oil Gauge WiFi Heating Oil Tank Gauge on a standard 275 gallon oil tank. Be sure to connect your Smart Oil Gauge to WiFi BEFORE installing on the tank. Detailed instructions are available at https://www.smartoilgauge.com/install... Tools required: -Pipe wrench (at least 14") -Non-permanent pipe dope (Do not use Teflon tape!) -A rag Steps: 1. Connect the gauge to WiFi. 2. Use a rag to clean around the 2" plug on the oil tank. 3. Use a pipe wrench to remove the 2" plug. 4. Apply pipe dope to the male threads of the Smart Oil Gauge. 5. Thread the Smart Oil Gauge in by hand - make sure it is not cross-threaded. 6. Tighten the Smart Oil Gauge with a pipe wrench on the metal body of the gauge. Do not use a pipe wrench on the white cap! Expect to see 5-6 threads exposed on the Smart Oil Gauge once tight. 7. Make sure the gauge is switched on and wait at least an hour for the first reading to come in. 8. For outdoor tanks: Apply Teflon tape to the threads under the white cap to keep moisture out of the unit. Hand tighten the cap.
Comments