Скачать с ютуб DON'T let this happen to your BMW Sills! в хорошем качестве
DON'T let this happen to your BMW Sills!
1 год назад
Скачать бесплатно DON'T let this happen to your BMW Sills! в качестве 4к (2к / 1080p)
У нас вы можете посмотреть бесплатно DON'T let this happen to your BMW Sills! или скачать в максимальном доступном качестве, которое было загружено на ютуб. Для скачивания выберите вариант из формы ниже:
Загрузить музыку / рингтон DON'T let this happen to your BMW Sills! в формате MP3:
Если кнопки скачивания не
загрузились
НАЖМИТЕ ЗДЕСЬ или обновите страницу
Если возникают проблемы со скачиванием, пожалуйста напишите в поддержку по адресу внизу
страницы.
Спасибо за использование сервиса savevideohd.ru
DON'T let this happen to your BMW Sills!
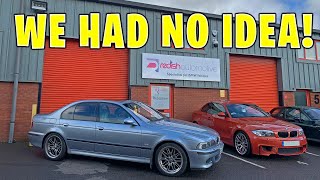
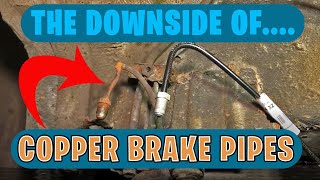
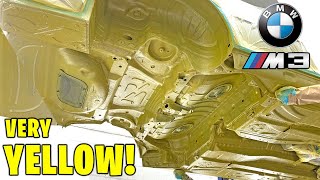
This 2000 BMW E39 M5 with 155k miles failed it's MOT (UK safety test) on holes in the Rear Sill & Jacking Points due to corrosion. What's more surprising is that this owner had another company carry out some form of Rear Sill repair work just 4/5 years ago! It's clear the techniques the other company used hadn't lasted, as well as several area's, were never attended to. So, the owner found us (@RedishMotorsportbmw) and asked us to take care of it once and for all. We set about assessing the vehicle first, then stripping everything off underneath including the plastic fuel tank. We found the left rear outer sill had a fair amount of filler to disguise a previous section that has been lap-welded rather than butt-welded. Amazingly, we found the left rear inner sill had new metal not even welded but tucked inside the old sill. With workmanship like that, it was no surprise to find the NEW inner sill someone added 4/5 years ago had ALREADY rotted and had corrosion holes in it. We also found a sizable corrosion hole in the left rear floor pan allowing water/dirt to enter the cabin and contact the foam-backed carpet. Then it was a case of cutting out all the old corroded metal and working out what reconstruction work was required. We could then see inside the sills and found the join lines of previous sill end pieces both sides (lap-welded) with no signs of weld thru primer or cavity wax - it was just rusty weld lines and zero preparation inside the previously repaired sills some 4/5 years ago. Once we removed corrosion from the inner jacking point support we used a rust converter on that and all bare metal. Before any welding work commenced, we treated all contact points on the vehicle and new metal work to weld-thru primer. For the inner sills, we made up new sections. For the outer sills, we used aftermarket new sills (as the BMW panels were £3,994 just for 2 sills)! We created the originally shaped right-angle lips on the inner sill lower section too. Once all the fabrication work was complete, we protected the new metal with Graphene Primer, High Build Primer, Sprayable Seam Sealer, and E-coat top colour. Then a little black paint to blend into what someone else had done years ago on the textured lower section. Finally, extensive cavity waxing of the internal sills, box sections, jacking points, and all cavities in the areas we worked on for maximum longevity. If you have a similar requirement get in touch by calling 01179 781889. Follow us on INSTAGRAM for similar content: Instagram: redish_motorsport Facebook: redishmotorsport www.redish-motorsport.com PLEASE LIKE, SHARE, AND SUBSCRIBE. Thanks for watching.
Comments