Скачать с ютуб The REAL reason your EPB fails again and again on your Discovery в хорошем качестве
The REAL reason your EPB fails again and again on your Discovery
2 месяца назад
Скачать бесплатно The REAL reason your EPB fails again and again on your Discovery в качестве 4к (2к / 1080p)
У нас вы можете посмотреть бесплатно The REAL reason your EPB fails again and again on your Discovery или скачать в максимальном доступном качестве, которое было загружено на ютуб. Для скачивания выберите вариант из формы ниже:
Загрузить музыку / рингтон The REAL reason your EPB fails again and again on your Discovery в формате MP3:
Если кнопки скачивания не
загрузились
НАЖМИТЕ ЗДЕСЬ или обновите страницу
Если возникают проблемы со скачиванием, пожалуйста напишите в поддержку по адресу внизу
страницы.
Спасибо за использование сервиса savevideohd.ru
The REAL reason your EPB fails again and again on your Discovery
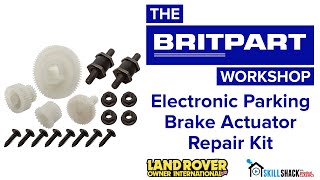
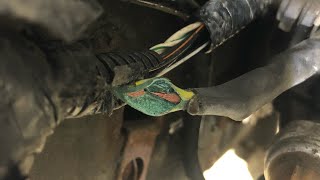
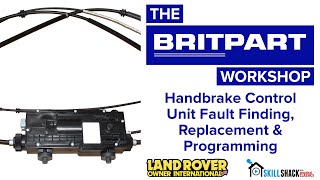
Repair videos are abundant on YouTube for the Discovery EPB (electronic parking brake) but too often these repairs don't last. I get mine repaired professionally to discover the hints and tips to where people fail and how to make sure a repair lasts and doesn't cost the earth. We talk a lot about the 'right parts' for this job so I've listed below the links to all the parts you might need to do the job yourself including some parts no one else mentions in their repair videos. visit http://www.epbspecialists.co.uk/ if you'd like to get your EPB repaired professionally. Thanks to Dave for letting me film him at work and sharing some of his secrets! All parts available from lrparts.net LR031947 - FERODO BRAKE SHOES FOR RANGE ROVER SPORT, DISCOVERY 3 AND DISCOVERY 4 (FOUR SHOES PER KIT) https://www.lrparts.net/lr031947-fero... SPV500030 - CLIP FOR HANDBRAKE ACTUATOR ON ROVER SPORT, DISCOVERY 3 AND 4 https://www.lrparts.net/spv500030-cli... LRC9771 - HANDBRAKE REPAIR KIT - DISCOVERY 3 AND RANGE ROVER SPORT 2005-2009 (You'll need the clips above) https://www.lrparts.net/lrc9771-handb... LR018469 - HANDBRAKE CABLE - RIGHT HAND - FOR DISCOVERY 3, 4 AND RANGE ROVER SPORT 06-13 https://www.lrparts.net/lr018469-hand... Chapters: 0:00 Intro 1:04 Removing the front panel screws 1:40 Sending power to the unit via 12 volt probe 2:24 Getting access to the brake shoes 3:08 What causes the EPB to fail 3:58 Fitting the right brand of brake show 5:55 LR031947 are the right parts to fit 6:40 Assembling the brake shoes 9:22 Making sure circlips are fitted to the cables 12:35 Making adjustments to the tension 13:08 Resetting the actuator and first test 14:08 Making sure all the boxes are ticked for the best job
Comments