Скачать с ютуб How to felt a shed roof and ensure it lasts! в хорошем качестве
How to felt a shed roof and ensure it lasts!
1 год назад
Скачать бесплатно How to felt a shed roof and ensure it lasts! в качестве 4к (2к / 1080p)
У нас вы можете посмотреть бесплатно How to felt a shed roof and ensure it lasts! или скачать в максимальном доступном качестве, которое было загружено на ютуб. Для скачивания выберите вариант из формы ниже:
Загрузить музыку / рингтон How to felt a shed roof and ensure it lasts! в формате MP3:
Если кнопки скачивания не
загрузились
НАЖМИТЕ ЗДЕСЬ или обновите страницу
Если возникают проблемы со скачиванием, пожалуйста напишите в поддержку по адресу внизу
страницы.
Спасибо за использование сервиса savevideohd.ru
How to felt a shed roof and ensure it lasts!
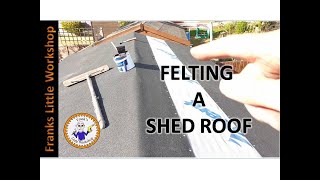
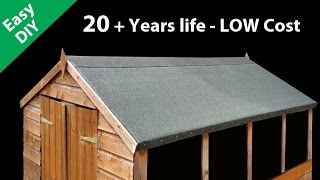
@Fix it with Fowler will show you how to felt a shed roof and ensure it lasts a long time using some basic Do It Yourself tools. Amazon Links to the tools and materials used: IKO Waterproofing Shed Felt https://amzn.to/3JAivII Everbuild Black Jack 904 Roof Felt Adhesive https://amzn.to/3wQDtvu 30mm Felt Nails https://amzn.to/3WV6OiR Chalk Line https://amzn.to/3wUX3Xe Claw hammer https://amzn.to/3JAFVOd Stanley Quickslide Pocket Knife https://amzn.to/3YlHRyn The Amazon links above are affiliate links. It doesn't cost you anything to click on them but I do earn a small commission if you do. As an Amazon Associate I earn from qualifying purchases Measure the shed roofing felt to size and cut with a sharp Stanley knife, than put to one side. Determine where the clout nails will go and take a measurement as once the felt is in place you will not see any marks. Apply the shed roofing felt adhesive with a brush to the roof and leave for 15 minutes to become tacky, then lay the felt into position and fix with clout nails. Tidy the edges of the shed roofing felt with the Stanley knife and for a neat finish install a wooden trim, this prevents any wind from lifting the shed felt and ripping the felt. A final finishing touch is to cover the nail heads with the roofing felt adhesive to prevent any possible water ingress. Please don't forget to subscribe to my channel, like the video and leave a comment to help my channel grow! #shed #roofing #roofinginstallation
Comments